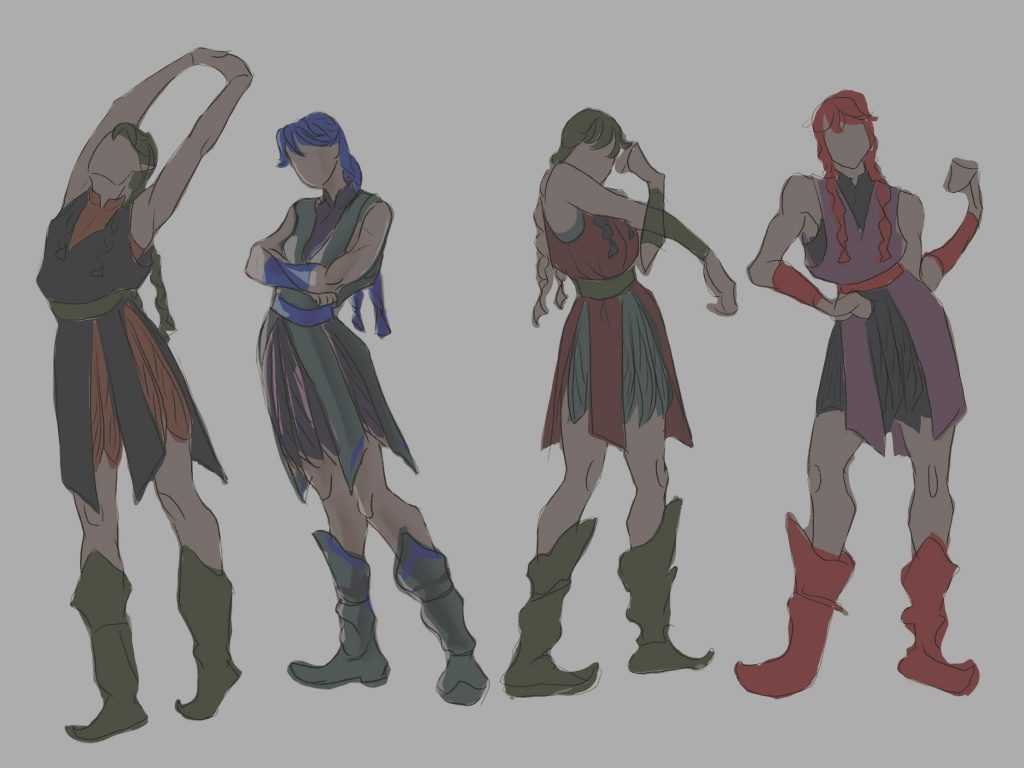
Storyboard
One of the things I liked about monster hunter animation was the anticipation in swinging an oversized sword and also the detailed animations of palicos cooking, mending weapons or other idle actions. For my animation I thought I could either do an attacking/sneaking motion or an idle animation reminiscent of the palicos.
Because animating an action seemed like a bit too much as I had left myself with too little time to animate and didn’t have much experience with it, I decided that an idle animation would be more manageable and I could add more onto it as I got more comfortable animating.
Plan
While working on the animation my initial plan was to make several poses and create transitions in between. I wanted a keep alive or idle animation of a background npc character. Since the character is npc the movements do not need to be very detailed and there was no need for a complicated rig, so using a quick rig function was sufficient for my intention and timeline.
Animate
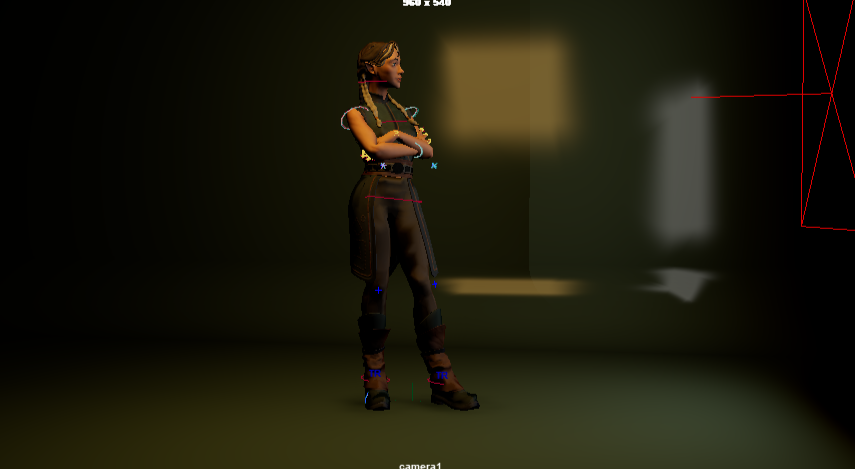
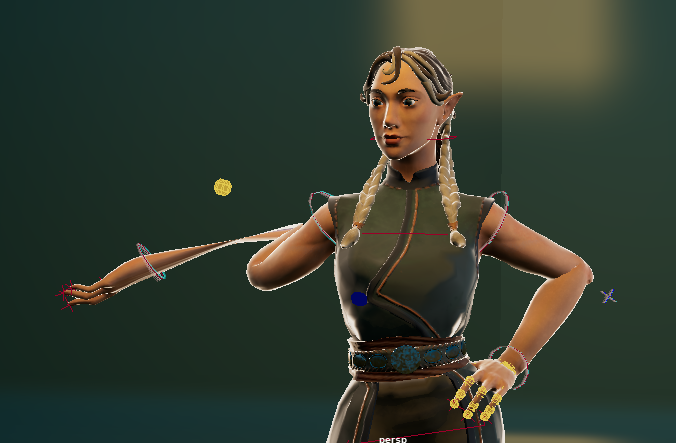
As I was working and following along several animation tutorials I was able to grasp more details to pay attention to, like making the feet shift as the character shifts their weight from one foot to another. At first I just roughly made the key poses with the reference video I filmed of myself, however I had to refilm it to fit my intention more precisely.
I learned that the finger can be lag a little behind the hand and have a little bit more sway/motion. I also tried to pay attention to the arcs of motion to the best of my ability. Later I realized that maybe the order in which I animate the body parts would help me build a little more story or intention. Like turning the head first before turning the hips to show that the character moved because something caught their attention. I added a nod of greeting/acknowledgement to the waving animation and tried to start and end the animation at the same pose to make a loop.
Follow through
At some point I decided to play with head turns and I realized it helped me add more life into the movements. I decided to move the head first and then make the character move to face that direction to make the motion make more sense and have more purpose or story. After the head, I tried turning the non-weightbearing foot first, shift the weight and move the other foot and then complete the hip turn.
Feet
I felt that animating hips was simple and it helped built the base for poses. Feet were a bit more complicated because I didn’t want to make the character to step into a pose but more like shift their weight between their feet instead. But I realized that I still needed to show the shift of the fit somehow, otherwise the sliding motion would be very off. So I tried reenacting the movement to understand what happens to the feet, and decided I could animate the shift of the non weight bearing foot moving first followed after the other one after the weight has shifted.
The graph editor was really helpful to see the flow of motion and to see areas where I could clean up or remove key frames. I animated pose to pose and although maya creates the movement in between key poses automatically I had to change up the breakdowns and add some more details in between.
Timing
Initially the struggle was to figure out the timing of the animation, like how long will it take to move from one pose to another and where to put keys. At first I blindly keyed the poses only to realize it is not very convenient to add more frames and adjust keys to fit the new timing so I refilmed my reference video with a more precise timeline to figure out how many second I need to fit the poses and transition in the animation. Since it was 10 seconds I added in 240 frames for a 24/1 frame rate and gave each pose 48 frames with 10 frames to stay in pose. I tried making the tangents each 10 second hold in pose to flat I was not sure it actually helped. The graph editor helped me keep the hip motion consistent and I was able to animate feet by moving some curves in the editor.
After finally settling the main poses and adding breakdowns and in-betweens for the more detailed motions like hands and fingers I kept feeling like there was more places to clean up although I couldn’t quite put my finger on it. I kept referring to my reference video but could not quite figure out how to make the flow more organic. I wanted to polish the animation more but was not sure what to polish.
I had to delete or move some key frames because they were speeding up the movement/making it a bit snappier than I wanted and I had to space out some frames to make sure the motion was smooth.
Lighting and set scene
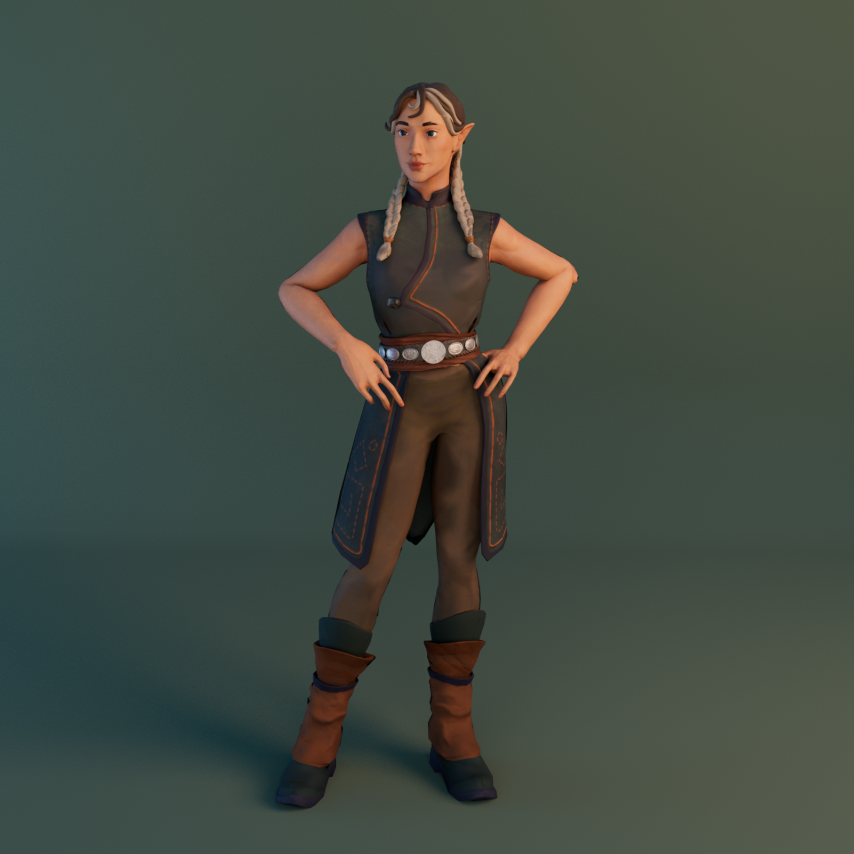
I tried replicating the lighting from the substance painter render so I downloaded a skydome from a website I have seen in the tutorial. I chose a landscape cause I felt that is closer to monster hunter environment/theme and a natural lighting would look well for my intention. I liked how it looked in substance so maybe I could use the blurred skydome landscape as a background for my renders.
Troubleshooting
Eyebrow
An issue I realized during the animation process was that the eyebrows were disappearing into the mesh during head turns. I tried editing the weight paint so they would stick to head only or head and a little neck but the issue persisted. The issue may have been adding to the whole character in quick rig however back during the rigging process when I tried parenting the brows to head they were still not working well hence why I added them to quick rig. In the end I realized it might be because the brows were a flat plane with no back so the geometry of the head and brows was just not working together. I noticed the brows issue too late in the process so I had to keep them this way for now.
Textures
When lighting with brighter lights I saw how the textures were really glossy, for some reason it seems the roughness maps on the model were no longer working or they were like that all along and I just had not seen them in that light yet. I checked that the setting on roughness were set to raw but it just wasn’t working so I had to move back to substance to adjust roughness on all textures and it solved the issue as well as fixed the overall appearance of the model which was blurred at some point. This also made me realize that the uv map for clothes in maya and substance was slightly different (maya had an earlier version) and I figured that maybe during one of the crashes I kept a slightly outdated version of my model which caused the texturing issues. Overall, I am happy with the appearance of the model
Broken Rig
When deleting key frames I would sometimes accidentally delete a part of the rig. This would cause the file to crash and the recovered file would be missing a control/bone and I would have to open an older version of the file and redo what I haven’t saved. However this made me more careful with key frames.
Technical issues
Speaking of crashing, my computer was just barely able to finish this project due to full memory and maybe limited power. At first it was slowing down and crashing due to full memory storage so I got a OneDrive to backup files and deleted older quick saves from ZBrush.
The issue returned in Maya. I learned then that an .ma can be recovered with script editor possibly but a corrupted .mb file would be simply gone. Luckily after allowing the scene to load for 40 minutes to until the scene opened. Deleting history solved that issue and I switched to .ma file format. However after rigging and starting animating the issue returned and persisted. I was able to complete the animation but had to reanimate some small scenes.